Check out the new video post of one of the most epic repair jobs so far!

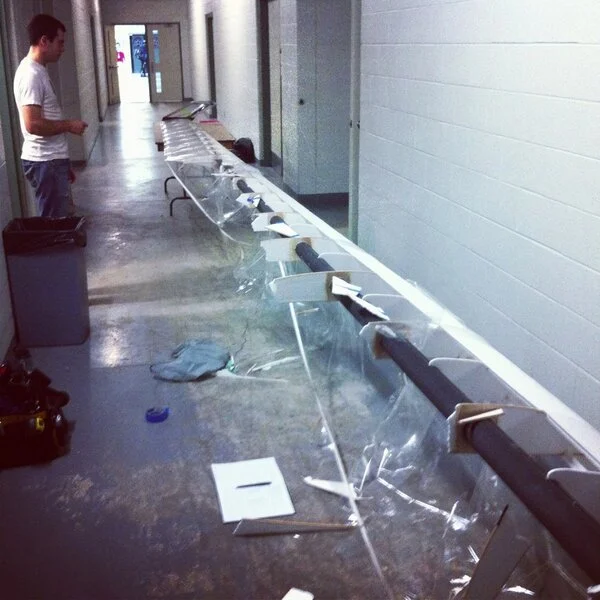
II Beta: the unfortunate rotor that was torn apart by the wind last Friday.
Last Friday was an incredible day of flight testing: the rotors were balanced and trimmed with very few adjustments and controls were responsive and effective! We had to pack up early, unfortunately, because the field was booked at 3pm. While loading the rotors back into the truck the wind picked up, changed direction and absolutely tore apart one of the rotors. Of course this was heart-breaking, but after some smart planning things are surprising a lot easier to fix than they seem.
As you can see in the picture below, it was a good thing we had spare ribs.
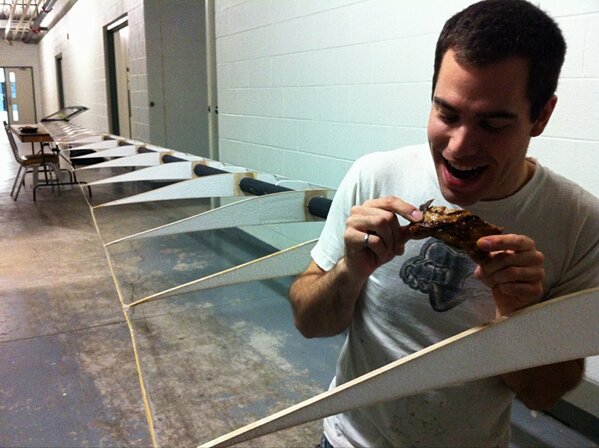
Ha ha. Get it! Spare Ribs ;)
First the bits and pieces of the old ribs were glued together to make a clear template for the precise angle of attack that the given ribs should be at. Then the new spare rib is set next to it. Both ribs are marked and trimmed and the new rib takes the place of the old broken rib. Next we coat the surface of the ribs with Ply-O-Bond, cover with Mylar, tack it down with an iron and then use the heat gun to pull the Mylar tight. You can see all this wonderful detail if you step frame-by-frame through the YouTube video.
Since we’re replacing the old ribs, instead of patching the old ones, the repairs will only add about 50-100 grams in wood strips and super glue. After one full day, the rotor was repaired and ready for another flight!
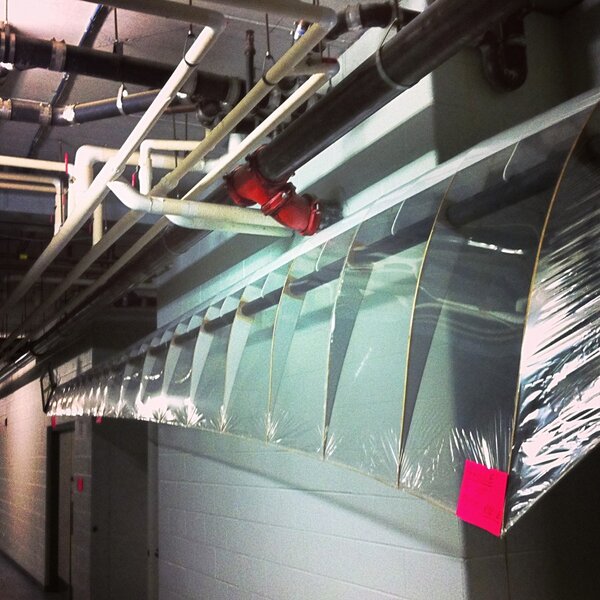
II Beta: ready for another flight.